Image by Author
Diffusers is a Python library developed and maintained by HuggingFace. It simplifies the development and inference of Diffusion models for generating images from user-defined prompts. The code is openly available on GitHub with 22.4k stars on the repository. HuggingFace also maintains a wide variety of Stable DIffusion and various other diffusion models can be easily used with their library.
Installation and Setup
It is good to start with a fresh Python environment to avoid clashes between library versions and dependencies.
To set up a fresh Python environment, run the following commands:
python3 -m venv venv
source venv/bin/activate
Installing the Diffusers library is straightforward. It is provided as an official pip package and internally uses the PyTorch library. In addition, a lot of diffusion models are based on the Transformers architecture so loading a model will require the transformers pip package as well.
pip install 'diffusers[torch]' transformers
Using Diffusers for AI-Generated Images
The diffuser library makes it extremely easy to generate images from a prompt using stable diffusion models. Here, we will go through a simple code line by line to see different parts of the Diffusers library.
Imports
import torch
from diffusers import AutoPipelineForText2Image
The torch package will be required for the general setup and configuration of the diffuser pipeline. The AutoPipelineForText2Image is a class that automatically identifies the model that is being loaded, for example, StableDiffusion1-5, StableDiffusion2.1, or SDXL, and loads the appropriate classes and modules internally. This saves us from the hassle of changing the pipeline whenever we want to load a new model.
Loading the Models
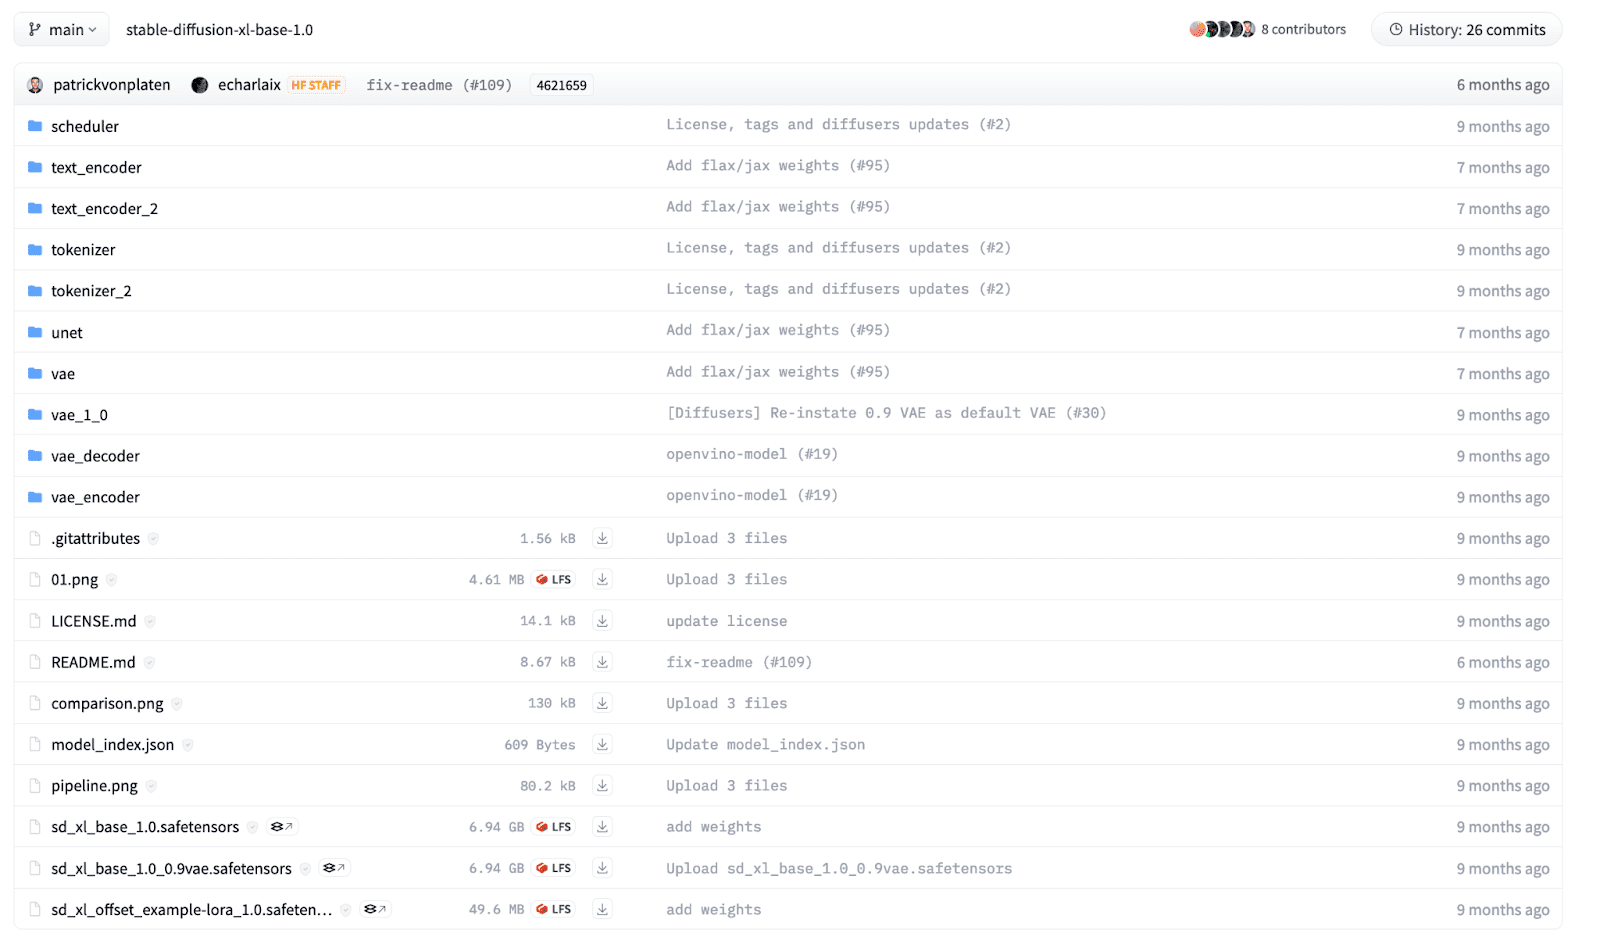
A diffusion model is composed of multiple components, including but not limited to Text Encoder, UNet, Schedulers, and Variational AutoEncoder. We can separately load the modules but the diffusers library provides a builder method that can load a pre-trained model given a structured checkpoint directory. For a beginner, it may be difficult to know which pipeline to use, so AutoPipeline makes it easier to load a model for a specific task.
In this example, we will load an SDXL model that is openly available on HuggingFace, trained by Stability AI. The files in the directory are structured according to their names and each directory has its own safetensors file. The directory structure for the SDXL model looks as below:

To load the model in our code, we use the AutoPipelineForText2Image class and call the from_pretrained function.
pipeline = AutoPipelineForText2Image.from_pretrained(
	"stability/stable-diffusion-xl-base-1.0",
	torch_dtype=torch.float32 # Float32 for CPU, Float16 for GPU,
)
We provide the model path as the first argument. It can be the HuggingFace model card name as above or a local directory where you have the model downloaded beforehand. Moreover, we define the model weights precisions as a keyword argument. We normally use 32-bit floating-point precision when we have to run the model on a CPU. However, running a diffusion model is computationally expensive, and running an inference on a CPU device will take hours! For GPU, we either use 16-bit or 32-bit data types but 16-bit is preferable as it utilizes lower GPU memory.
The above command will download the model from HuggingFace and it can take time depending on your internet connection. Model sizes can vary from 1GB to over 10GBs.
Once a model is loaded, we will need to move the model to the appropriate hardware device. Use the following code to move the model to CPU or GPU. Note, for Apple Silicon chips, move the model to an MPS device to leverage the GPU on MacOS devices.
# "mps" if on M1/M2 MacOS Device
DEVICE = "cuda" if torch.cuda.is_available() else "cpu"
pipeline.to(DEVICE)
Inference
Now, we are ready to generate images from textual prompts using the loaded diffusion model. We can run an inference using the below code:
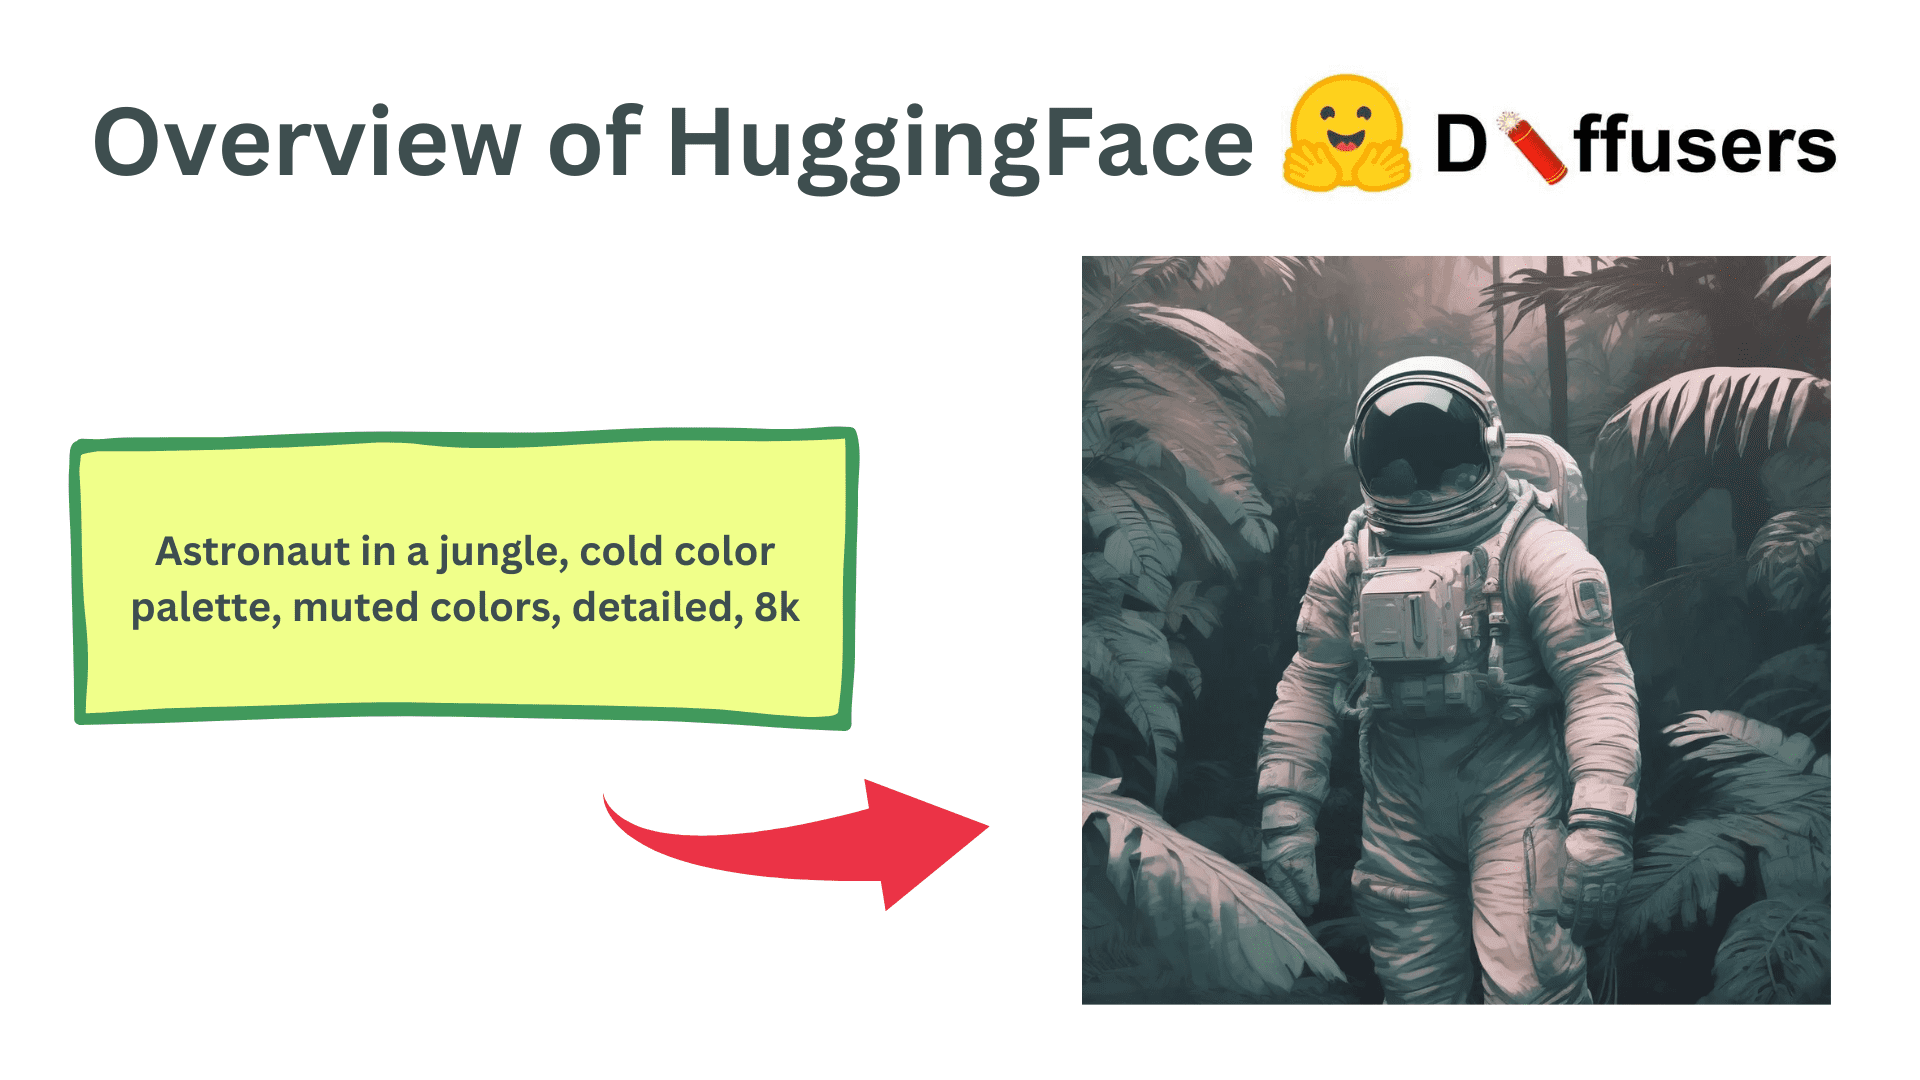
prompt = "Astronaut in a jungle, cold color palette, muted colors, detailed, 8k"
results = pipeline(
  prompt=prompt,
  height=1024,
  width=1024,
  num_inference_steps=20,
)
We can use the pipeline object and call it with multiple keyword arguments to control the generated images. We define a prompt as a string parameter describing the image we want to generate. Also, we can define the height and width of the generated image but it should be in multiples of 8 or 16 due to the underlying transformer architecture. In addition, the total inference steps can be tuned to control the final image quality. More denoising steps result in higher-quality images but take longer to generate.
Finally, the pipeline returns a list of generated images. We can access the first image from the array and can manipulate it as a Pillow image to either save or show the image.
img = results.images[0]
img.save('result.png')
img # To show the image in Jupyter notebook

Generated Image
Advance Uses
The text-2-image example is just a basic tutorial to highlight the underlying usage of the Diffusers library. It also provides multiple other functionalities including Image-2-image generation, inpainting, outpainting, and control-nets. In addition, they provide fine control over each module in the diffusion model. They can be used as small building blocks that can be seamlessly integrated to create your custom diffusion pipelines. Moreover, they also provide additional functionality to train diffusion models on your own datasets and use cases.
Wrapping Up
In this article, we went over the basics of the Diffusers library and how to make a simple inference using a Diffusion model. It is one of the most used Generative AI pipelines in which features and modifications are made every day. There are a lot of different use cases and features you can try and the HuggingFace documentation and GitHub code is the best place for you to get started.
Kanwal Mehreen Kanwal is a machine learning engineer and a technical writer with a profound passion for data science and the intersection of AI with medicine. She co-authored the ebook “Maximizing Productivity with ChatGPT”. As a Google Generation Scholar 2022 for APAC, she champions diversity and academic excellence. She’s also recognized as a Teradata Diversity in Tech Scholar, Mitacs Globalink Research Scholar, and Harvard WeCode Scholar. Kanwal is an ardent advocate for change, having founded FEMCodes to empower women in STEM fields.

